
How to Make a Ceramic Mug
How to Make a Ceramic Mug
No wheel, just two slabs of clay – the method, the timings and why you don't get the mug straight away.

How to make a ceramic mug – the slab technique in 8 steps
- Prepare the clay – about 1 kg of throwing clay is enough for a mug and a plate; knead it well so no air stays inside.
- Roll out a slab – with a rolling pin between two guide strips, to an even thickness of 5–6 mm.
- Cut out the pieces using a template – a rectangle for the body of the mug, a circle for the base and a strip for the handle.
- Score and join the seams – score the edges with a fork, brush them with slip (clay mixed with water) and press them firmly together.
- Shape the body and attach the handle – roll the slab into a cylinder, smooth the seam, shape the handle and attach it the same way.
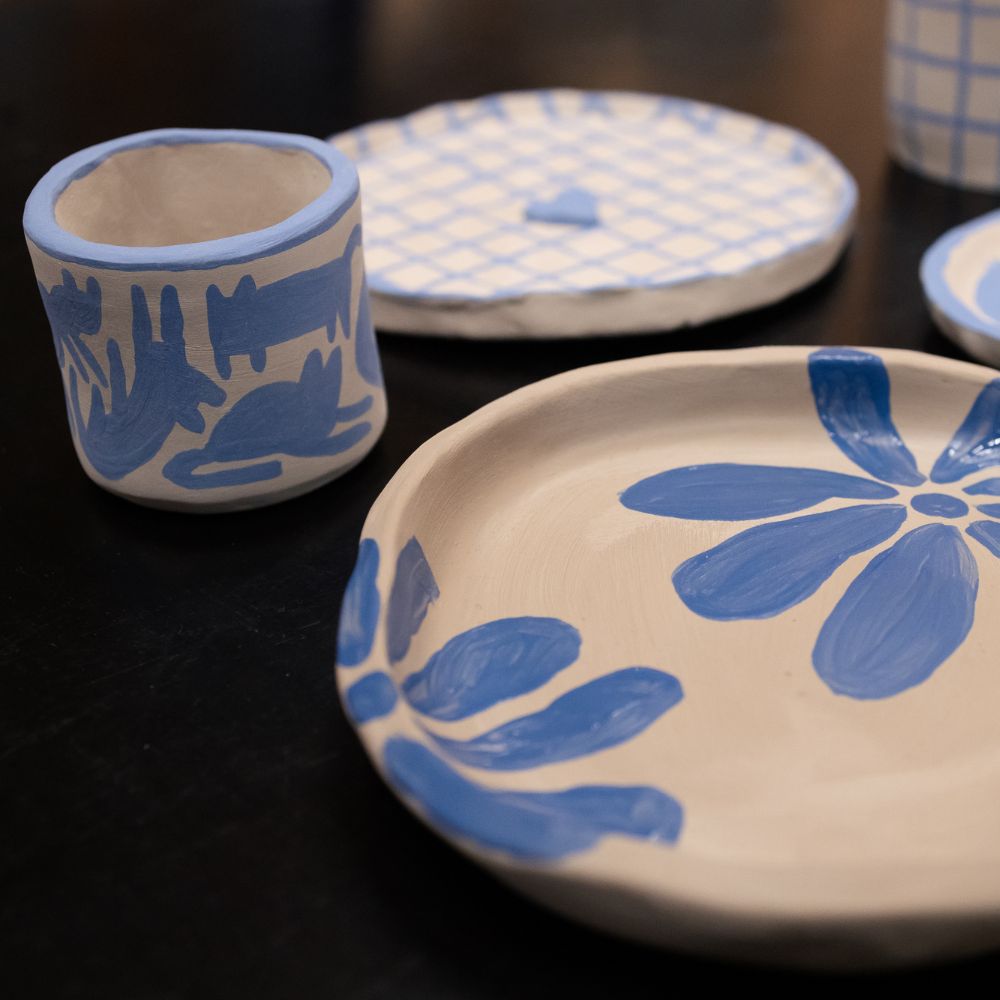
- Decorate with engobes – coloured clay slips brushed straight onto the raw clay – patterns, lettering, dedications. Painting on ceramics →
- Let it dry slowly – covered for several days so it doesn't crack; then a bisque firing in the kiln (~900 °C).
- Glaze and fire – a clear food-safe glaze and the final firing (~1 050–1 200 °C). Done.

Slab technique vs. potter's wheel
The wheel is beautiful, but your first mug on it takes hours of practice. The slab technique gives you a finished, straight and usable mug on the first try – which is why we use it at our one-day ArtCeramics workshop. The wheel makes sense if you want to dedicate a semester-long course to pottery; slabs if you want to leave with a result after one afternoon.
One-day pottery classDrying, bisque firing, glazing, firing – how long each step takes
Drying takes 3–7 days (depending on thickness and humidity), the bisque firing about a day including cooling, glazing an hour, and the final firing another day. That's why you collect your finished mug from the workshop after roughly 5–6 weeks: pieces are gathered until the kiln is full and fired in batches. The result is sturdy, glossy and food-safe.
Pottery class Prague
The most common mistakes when making a mug
- An uneven slab – thin spots crack.
- Seams that aren't scored and slipped – the handle falls off.
- Air bubbles in the clay – they burst in the kiln.
- Drying too fast next to a radiator – cracks.
- Engobes on clay that's too dry – they peel off.
Most popular formats


Where to try it – a one-day pottery class
At the ArtCeramics workshop, you make a mug and a plate using the slab technique in 3 hours with an instructor, with a welcome drink, engobes, glaze and both firings included in the price (2 490 Kč). Dates: Prague, Brno, Ostrava, Pilsen, Olomouc, Hradec Králové.
ArtCeramics datesFREQUENTLY ASKED QUESTIONS – HOW TO MAKE A MUG
Yes – with the slab technique: you roll out a slab, cut the pieces using a template and join them with slip. It gives you a straight, usable mug on the first try, which is why we use it at our one-day class.
About 1 kg of throwing clay is enough for a mug and a plate.
Modelling takes 2–3 hours, drying 3–7 days, then the bisque firing, glazing and the final firing – several weeks in total; you collect the finished set from the workshop after 5–6 weeks.
With engobes – coloured clay slips applied to the raw clay, which become permanent and food-safe after glazing and firing.
After glazing and firing, the mug is made for everyday use; because of the engobe decoration, we recommend gentle hand washing.
Join thousands of happy guests
More than 40,000 guests have discovered with ArtMoment that anyone can create. Join them – pick a date for a pottery workshop.
Choose a date